Last updated Nov 3, 2025.
The Ultimate Guide to Advanced AI Image Editing Workflow Using Qubrid AI’s ComfyUI Template
4 minutes read

Shubham Tribedi
Introduction
In our past blog, we explored how to deploy Qubrid AI’s ComfyUI Template. If you’re new to ComfyUI or haven’t yet tried it, start with that guide first - it’ll help you set up the foundation.
Now that you’re familiar with the basics, let’s go deeper. In this tutorial, you’ll learn to create an advanced custom workflow using Qubrid AI’s ComfyUI Template that allows you to:
Edit images seamlessly using Qwen Image Edit
Load your own or downloaded workflows
Download custom model weights directly
By the end, you’ll have a full end-to-end image editing workflow running on Qubrid AI — from generation to real-world image editing using natural language.
Prerequisites
Qubrid AI Account
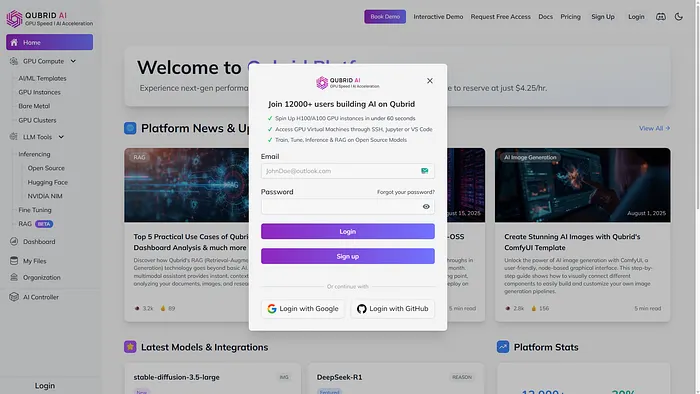
Sign up or log in to Qubrid AI. Access to the ComfyUI Template is included once you’re onboarded.
Basic Familiarity with ComfyUI
If you’re new, check out this tutorial. This blog assumes you know how to navigate the ComfyUI interface.GPU Resources on Qubrid AI

Advanced image editing and video models like Qwen Image, Edit, and Wan 2.2 require GPU acceleration. Qubrid AI provides enterprise-grade GPUs on demand to handle such workloads effortlessly.
Basic Terminal Commands & VS Code
SSH key generation knowledge & VS Code installed with SSH setup
Time & Creativity
Experimenting and tweaking is key - the more you explore, the more control you’ll gain.
Deploying Qubrid AI’s ComfyUI Template

Qubrid.AI Platform Home Page
Select ComfyUI Template under GPU Compute → AI/ML Templates.
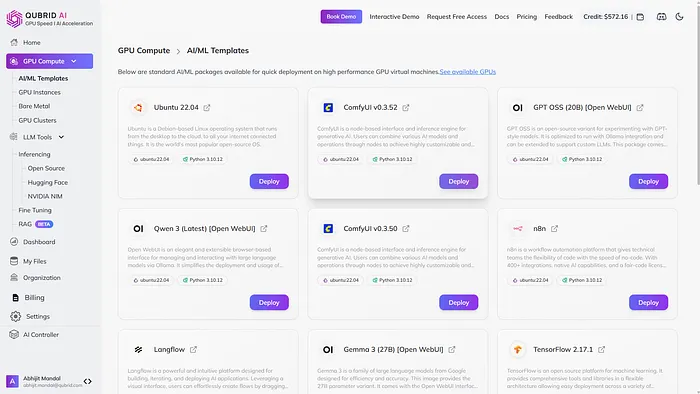
Select ComfyUI Template
Click Deploy, then:
Choose GPU instance (e.g., Nvidia A100 80GB SXM)
Set GPU count (1 recommended for this tutorial)
Configure Root Disk (500GB) to store models safely
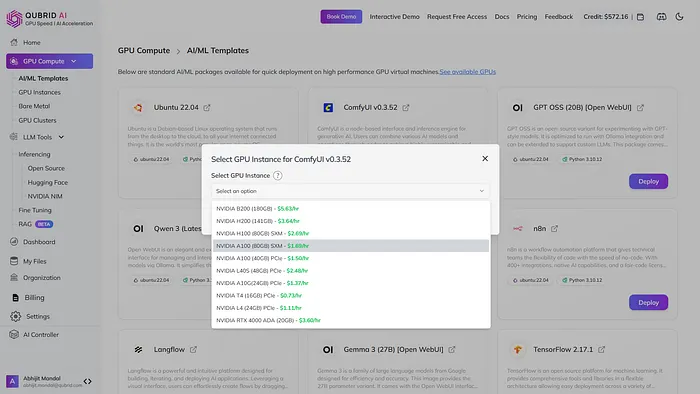
Select GPU Instance
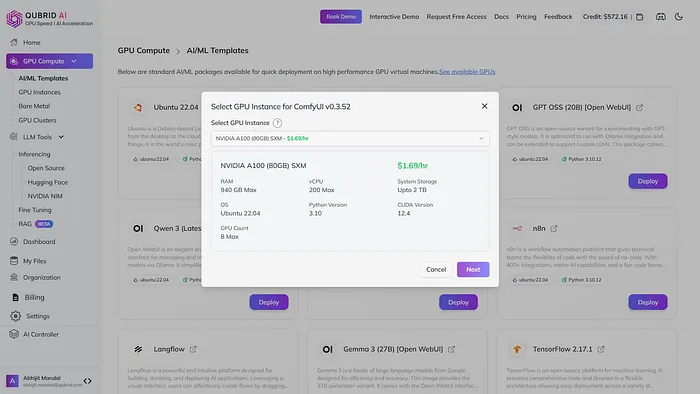
Preview GPU & Click Next
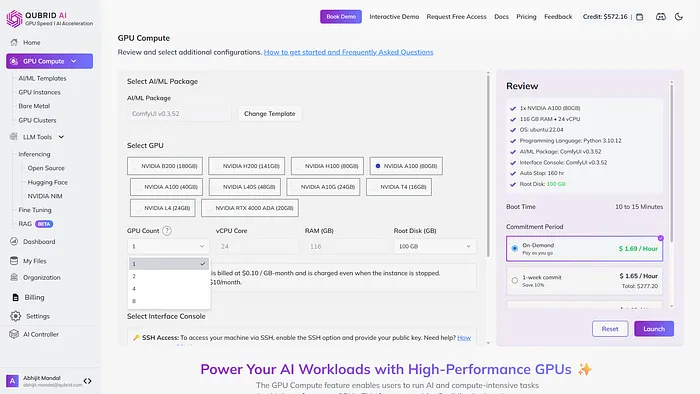
Select GPU Count - Enable SSH Access → add your SSH key.
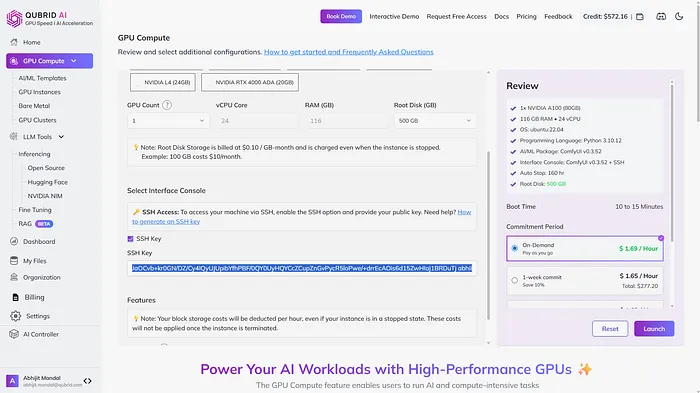
Enable SSH Once configured, click Launch and wait 5–10 minutes. Your ComfyUI instance will be live shortly.

Launch Confirmation
Deployment Progress:
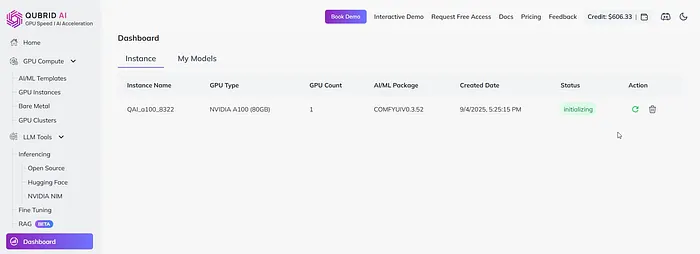
Deployment Initialized
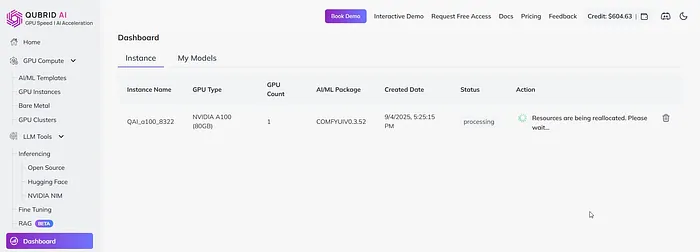
Status - Processing

ComfyUI Deployment Successful
Success: ComfyUI is deployed and ready to use.
Connecting to VS Code via SSH
To build advanced workflows, you’ll often need to access your cloud instance.
Why SSH with VS Code
Manage files and dependencies easily
Enjoy local-like editing while computation runs on the GPU
Steps
Install VS Code & the Remote SSH extension
Generate an SSH key → add to Qubrid instance
Connect via Command Palette →
Remote-SSH: Connect to HostAccess ComfyUI container with:
sudo su
docker ps -a
docker exec -it  /bin/bash
Access ComfyUI Container
Now you’re inside the ComfyUI environment, ready to customize workflows.
Complete Advanced Image Editing Workflow
Edit Images to Perfection with Qwen Image Edit
With Qwen Image Edit, you can create and refine images powerfully. Download the workflow: Qwen-Image-Edit-Workflow-by-Qubrid-AI
cd user/default/workflows
touch Qwen_Image_Edit.json
apt update && apt install vim wget -y
vi Qwen_Image_Edit.json
Paste workflow JSON, save, and exit. Then download models via:
wget -O models/diffusion_models/qwen_image_edit_fp8_e4m3fn.safetensors \
"https://huggingface.co/Comfy-Org/Qwen-Image-Edit_ComfyUI/resolve/main/split_files/diffusion_models/qwen_image_edit_fp8_e4m3fn.safetensors"
Repeat for Loras, Text Encoders, and VAE models. Structure:
📂 ComfyUI/
├── models/
│   ├── diffusion_models/qwen_image_edit_fp8_e4m3fn.safetensors
│   ├── loras/Qwen-Image-Lightning-4steps-V1.0.safetensors
│   ├── text_encoders/qwen_2.5_vl_7b_fp8_scaled.safetensors
│   └── vae/qwen_image_vae.safetensors
Workflow Preview
Workflow Use Cases
Object Replacement
Replace a coffee mug with a glass of juice.
Style Transfer
Transform into a Van Gogh–style painting.
Add Missing Elements

Add a red sports car.
Seasonal Transformation

Convert to a snowy winter scene.
Text Editing
Change text to “Mega Winter Sale 2025.”
Character Consistency

Replace white frock with a polka-dotted one.

Background Replacement
Add cinematic luxury background and lighting.
Conclusion
With this tutorial, you’ve learned how to set up and use Qwen Image Edit inside Qubrid AI’s ComfyUI Template to generate, refine, and experiment with stunning AI-driven images.
What once took hours of setup can now be done in minutes - thanks to Qubrid AI’s ready-to-use GPU templates.